To effectively winterize your water lines with heat tape, start by turning off the outdoor water supply and draining remaining water from hoses and faucets. Wrap the exposed pipes along exterior walls and unheated areas with high-quality heat tape, following manufacturer instructions carefully for safe, consistent heat. Combine this with insulation covers for added protection, and regularly check for wear. Keep your pipes safe and prevent costly damage — learn more about the proven heat-tape plan that works.
Key Takeaways
- Install heat tape along vulnerable pipes, following manufacturer instructions for safe, effective warmth.
- Combine heat tape with insulation for maximum protection in harsh winter conditions.
- Wrap heat tape securely around pipes and use proper connectors to prevent gaps and heat loss.
- Regularly inspect heat tape for damage or wear during winter to ensure continuous operation.
- Turn off and unplug heat tape when not in use to prevent fire hazards and save energy.
As temperatures begin to drop, it is vital to winterize your water lines to prevent freezing and costly damage. One effective way to do this is by properly insulating your pipes and outdoor faucets. Pipe insulation acts as a barrier, keeping the cold air from reaching the water inside your pipes. You can choose foam pipe insulation, which is affordable and easy to install, or more specialized materials if your pipes are exposed to harsher conditions. Wrap the insulation around all exposed pipes, especially those running along exterior walls or in unheated areas like basements, garages, and crawl spaces. Securing the insulation with duct tape guarantees it stays in place throughout the winter.
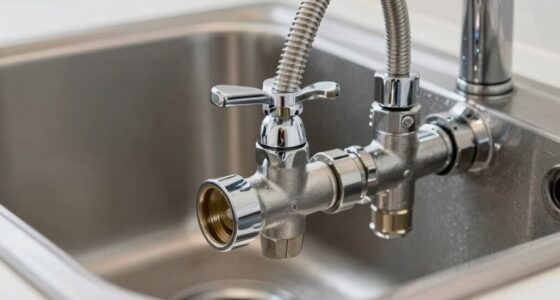
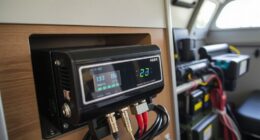
To ensure comprehensive protection, consider using load‑planning tools to identify which pipes are most vulnerable to freezing and prioritize insulation accordingly. Outdoor faucets are particularly vulnerable to freezing, which can lead to cracked pipes and water leaks. To protect them, start by shutting off the water supply to each outdoor faucet. Once the water is off, open the faucet to drain any remaining water inside. Next, install faucet covers or insulate the outdoor faucets with foam pads designed specifically for this purpose. These covers provide an extra layer of insulation, preventing cold air from reaching the faucet and causing the water inside to freeze. If you prefer a more permanent solution, consider installing an outdoor faucet cover kit that includes a valve to shut off the water supply and a pipe sleeve for added insulation.
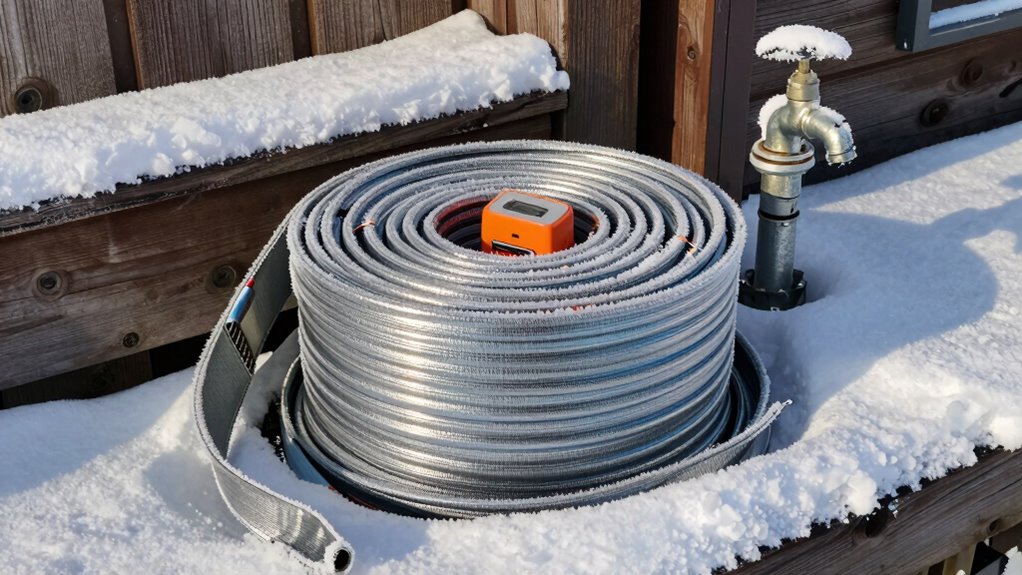
In addition to pipe insulation and outdoor faucet covers, you should consider disconnecting hoses and draining any residual water to prevent freezing inside the hose or the faucet itself. For added protection, you might also consider wrapping the entire exterior pipe and faucet area with heat tape, which delivers a gentle, consistent heat to keep the pipes from freezing. Make sure to follow the manufacturer’s instructions carefully when installing heat tape to avoid any fire hazards.
Frequently Asked Questions
Can Heat Tape Be Used on All Types of Water Pipes?
Yes, you can use heat tape on most water pipes, but you need to verify compatibility. Some pipes, like those made of plastic, may require specific heat tapes designed for their material. Always use pipe insulation along with heat tape for added protection, and follow electrical safety guidelines to prevent hazards. Proper installation ensures the tape works effectively and keeps your water lines from freezing during winter.
How Long Does It Take to Install Heat Tape Properly?
Installing heat tape properly usually takes about 1 to 3 hours, depending on your pipe length and complexity. First, you’ll need to prepare by turning off the water supply and cleaning the pipes. Then, you’ll unroll and secure the heat tape along the pipe, following the manufacturer’s instructions. Adequate installation time includes these preparation steps and ensures your pipes stay protected during cold weather.
Is Heat Tape Safe for Outdoor or Underground Pipes?
You can definitely use heat tape on outdoor or underground pipes, but safety is key. It’s safe if you follow manufacturer instructions and guarantee proper electrical safety measures. Pair heat tape with pipe insulation to boost protection. However, avoid using it on damaged or exposed wiring, as that’s a fire hazard. Think of it as giving your pipes a cozy blanket while keeping everything safe and sound.
What Are the Energy Costs Associated With Using Heat Tape?
Using heat tape does consume energy, so you’ll want to think about the energy consumption and cost analysis before installing it. Typically, heat tape’s energy costs are moderate, especially if you use a thermostat to control when it turns on. By choosing energy-efficient models and insulating pipes properly, you can reduce overall costs. Keep in mind, though, that ongoing electricity expenses do add up during prolonged cold spells.
How Often Should Heat Tape Be Inspected or Replaced?
You should inspect your heat tape monthly during winter to catch any issues early, and replace it every three to five years to keep it working perfectly. Think of it as giving your water lines a health check-up—ignoring it could lead to frozen pipes and costly damage. Stick to this inspection schedule and replacement frequency, and you’ll keep your water flowing smoothly no matter how fierce the cold gets.
Conclusion
By following the heat-tape plan, you protect your pipes from freezing, prevent costly repairs, and guarantee peace of mind all winter long. By installing heat tape properly, maintaining it regularly, and monitoring your water lines, you create a reliable defense against the cold. With these steps, you keep your water flowing, your home safe, and your worries at bay. Stay proactive, stay prepared, and enjoy a worry-free winter with a well-winterized water system.