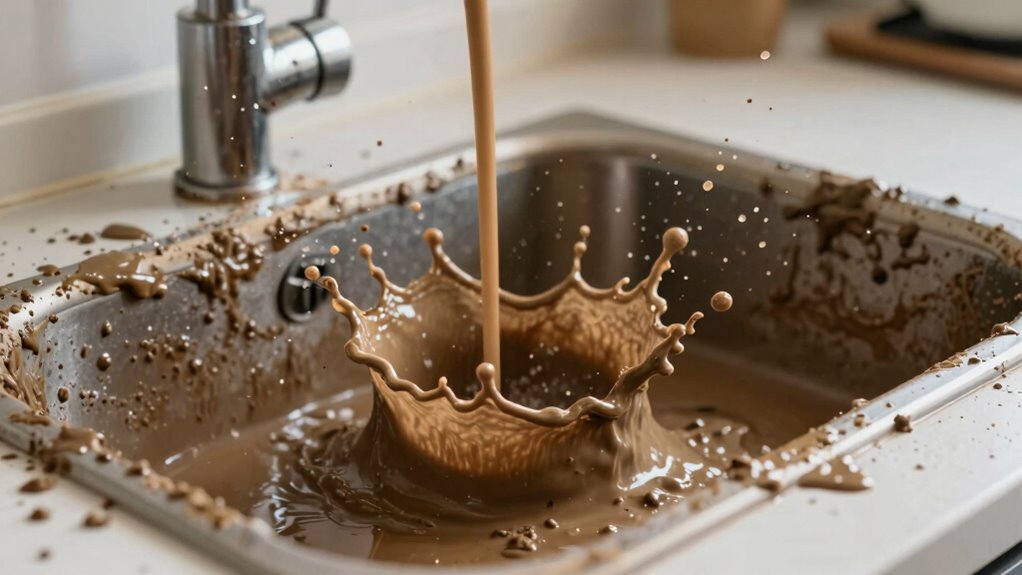

To keep splashes, mud, and mess under control during dishwashing, try using a simple sink splash-guard made from plastic or silicone strips across the front of your sink. Position it just inside the edge to catch water and debris before they spread. It’s quick to set up, inexpensive, and easy to remove for cleaning. Using a splash-guard like this can transform your kitchen cleanup—keep going to discover even more smart tricks.
Key Takeaways
- A sink splash-guard made from plastic, silicone, or cardboard effectively prevents water splashes and mud from reaching countertops.
- Position the splash-guard just inside the sink edge to catch splashes and contain messes during dishwashing or cleaning.
- Using a splash-guard reduces cleanup time and protects nearby surfaces and electronics from water damage.
- Installing a splash-guard creates a safer, cleaner kitchen environment, especially helpful when children are present.
- Regularly cleaning and properly positioning the splash-guard ensures it remains effective in controlling splashes, mud, and messes.

Have you ever been frustrated by water splashing all over the countertop while washing dishes? It’s a common annoyance that can turn a simple task into a messy chore. Luckily, there’s a quick and effective trick you can try—the sink splash-guard. This simple device can save you from endless clean-up and make your dishwashing routine smoother. When you’re setting up your sink area, consider incorporating cleaning tips that include installing a splash-guard or using a makeshift barrier. Not only does this keep your countertops dry, but it also helps prevent water from reaching places where it shouldn’t, especially around delicate electronics or important kitchen items.
Using a splash-guard is especially helpful if you have children in the house. Kids are naturally curious, and accidents happen easily when water splashes unexpectedly. Child safety is always a priority, and controlling the water spray during dishwashing or cleaning can prevent slips and stains. By creating a barrier, you’re reducing the risk of water getting onto the floor or furniture, which can be hazardous for young children. Plus, it’s a simple way to teach them about maintaining a tidy and safe kitchen environment. When you’re doing chores with little ones around, it’s reassuring to know you’ve minimized potential hazards.
Using a splash-guard helps keep children safe by preventing water spills and slips during kitchen chores.
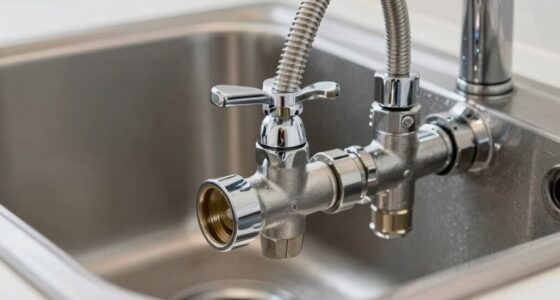
To set up a splash-guard, you don’t need anything fancy. A plastic or silicone strip that fits across the front of your sink can do the trick. If you don’t have a dedicated splash-guard, improvise with a sturdy piece of cardboard or a flexible silicone baking sheet cut to size. Position it just inside the sink’s edge, so it catches water before it spills over onto the countertop. Make sure it’s secure enough not to shift during use but also easy to remove for cleaning. This quick fix is a game-changer when it comes to keeping your kitchen clean and organized.
In addition to protecting your countertops, a splash-guard can also make cleaning easier. Less water on the counters means less time spent wiping up messes and more time enjoying your kitchen space. Remember, the goal isn’t just to keep things dry but also to create a safer environment for everyone, especially children. With these simple cleaning tips in mind, incorporating a splash-guard into your routine is a smart move. It’s an inexpensive, effective way to control splashes, improve child safety, and keep your kitchen looking tidy. Once you start using it regularly, you’ll wonder how you ever managed without it. Proper projector technology knowledge can also enhance your overall home setup, making your space more functional and enjoyable.
Frequently Asked Questions
Can the Splash-Guard Be Reused After Cleaning?
Yes, the splash-guard can be reused after cleaning. You just need to make sure it’s thoroughly cleaned to maintain reusability and prevent any build-up or bacteria. Its durability considerations mean it holds up well over multiple uses, as long as you handle it gently and avoid tearing or damage. Regular cleaning keeps it effective, so you can confidently reuse it many times, saving you money and reducing waste.
What Materials Are Best for Making a Splash-Guard?
You should use DIY materials like plastic, silicone, or waterproof fabric for making a splash-guard. These water-resistant options guarantee durability and easy cleaning. Plastic sheets or silicone strips are flexible and simple to cut, fitting various sink sizes. Waterproof fabric, like vinyl or nylon, also works well if properly secured. Choose materials that resist water damage, are easy to maintain, and provide a reliable barrier against splashes and spills.
Is This Trick Suitable for All Sink Types?
This trick isn’t suitable for all sink types, but with proper installation tips, you can adapt it to many. Check your sink’s compatibility first—some may have unique edges or surfaces that require different approaches. If you follow the right installation tips and choose flexible materials, you can make it work for most sinks. Always measure carefully and test before finalizing to guarantee a secure fit and effective splash prevention.
How Long Does a DIY Splash-Guard Last?
A DIY splash-guard typically lasts about 6 months to a year, depending on your usage and maintenance. To maximize its durability lifespan, regularly clean it with gentle soap and avoid harsh chemicals. Check for signs of wear or damage, and replace or repair it as needed. Proper maintenance tips, like avoiding excessive force during cleaning, help extend its effectiveness, ensuring it continues to protect your sink from splashes.
Are There Any Safety Concerns Using the Splash-Guard?
While a DIY splash-guard is generally safe, you should still consider some safety concerns. Make sure the materials used are non-toxic, especially if children will be around, to minimize any risk of material toxicity. Keep an eye on child safety by avoiding sharp edges or loose parts that could cause injury. Proper installation and regular checks help prevent accidents, making your setup both effective and safe for everyone.
Conclusion
Think of your sink as a battlefield, where every splash is a tiny rebel trying to escape. With this splash-guard trick, you’re building a fortress—a simple barrier that keeps chaos at bay. Each splash contained is a victory, a moment of calm amid the mess. By using this small shield, you reclaim control, turning a chaotic splash zone into a peaceful sanctuary. Sometimes, small barriers make the biggest difference—protecting your space, one splash at a time.